
 Image 1 of 3
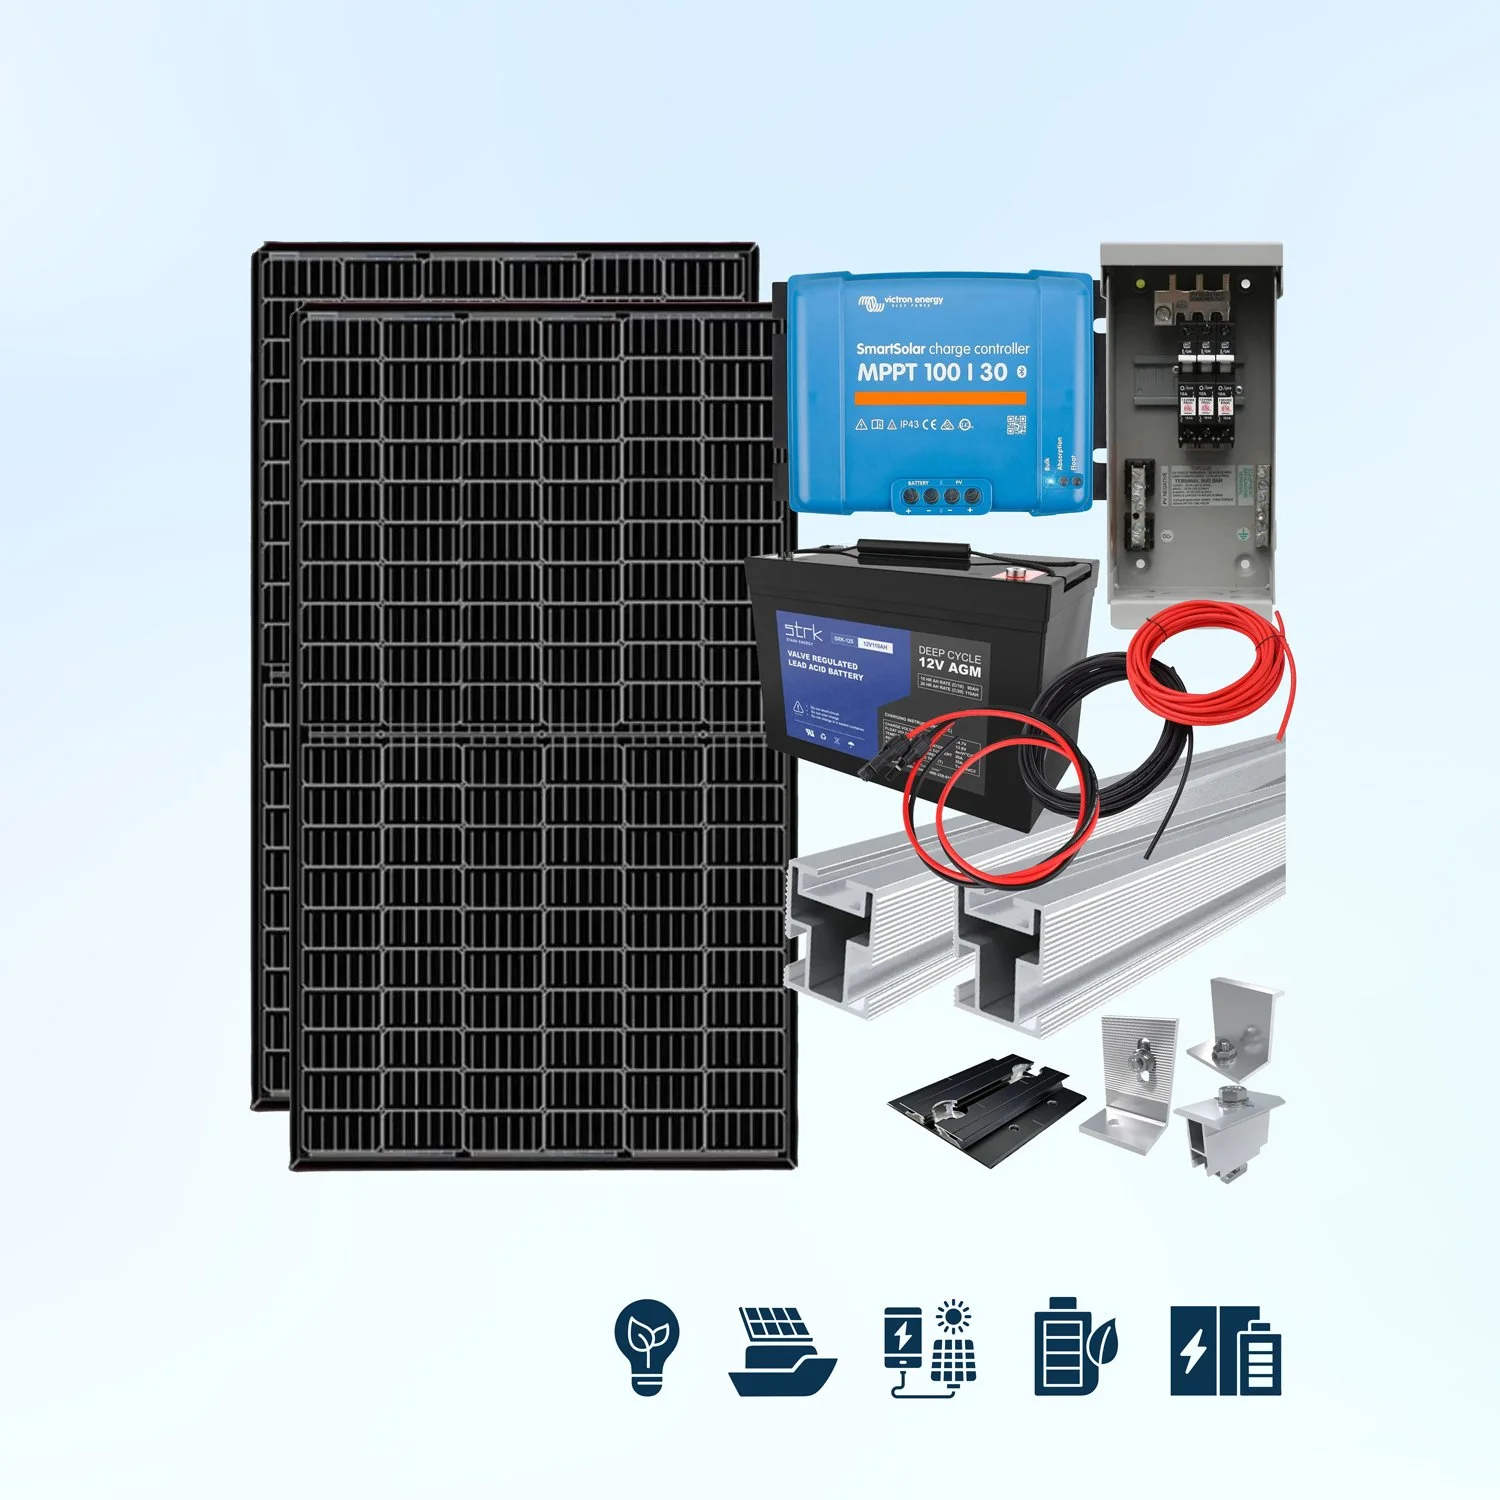 Image 2 of 3
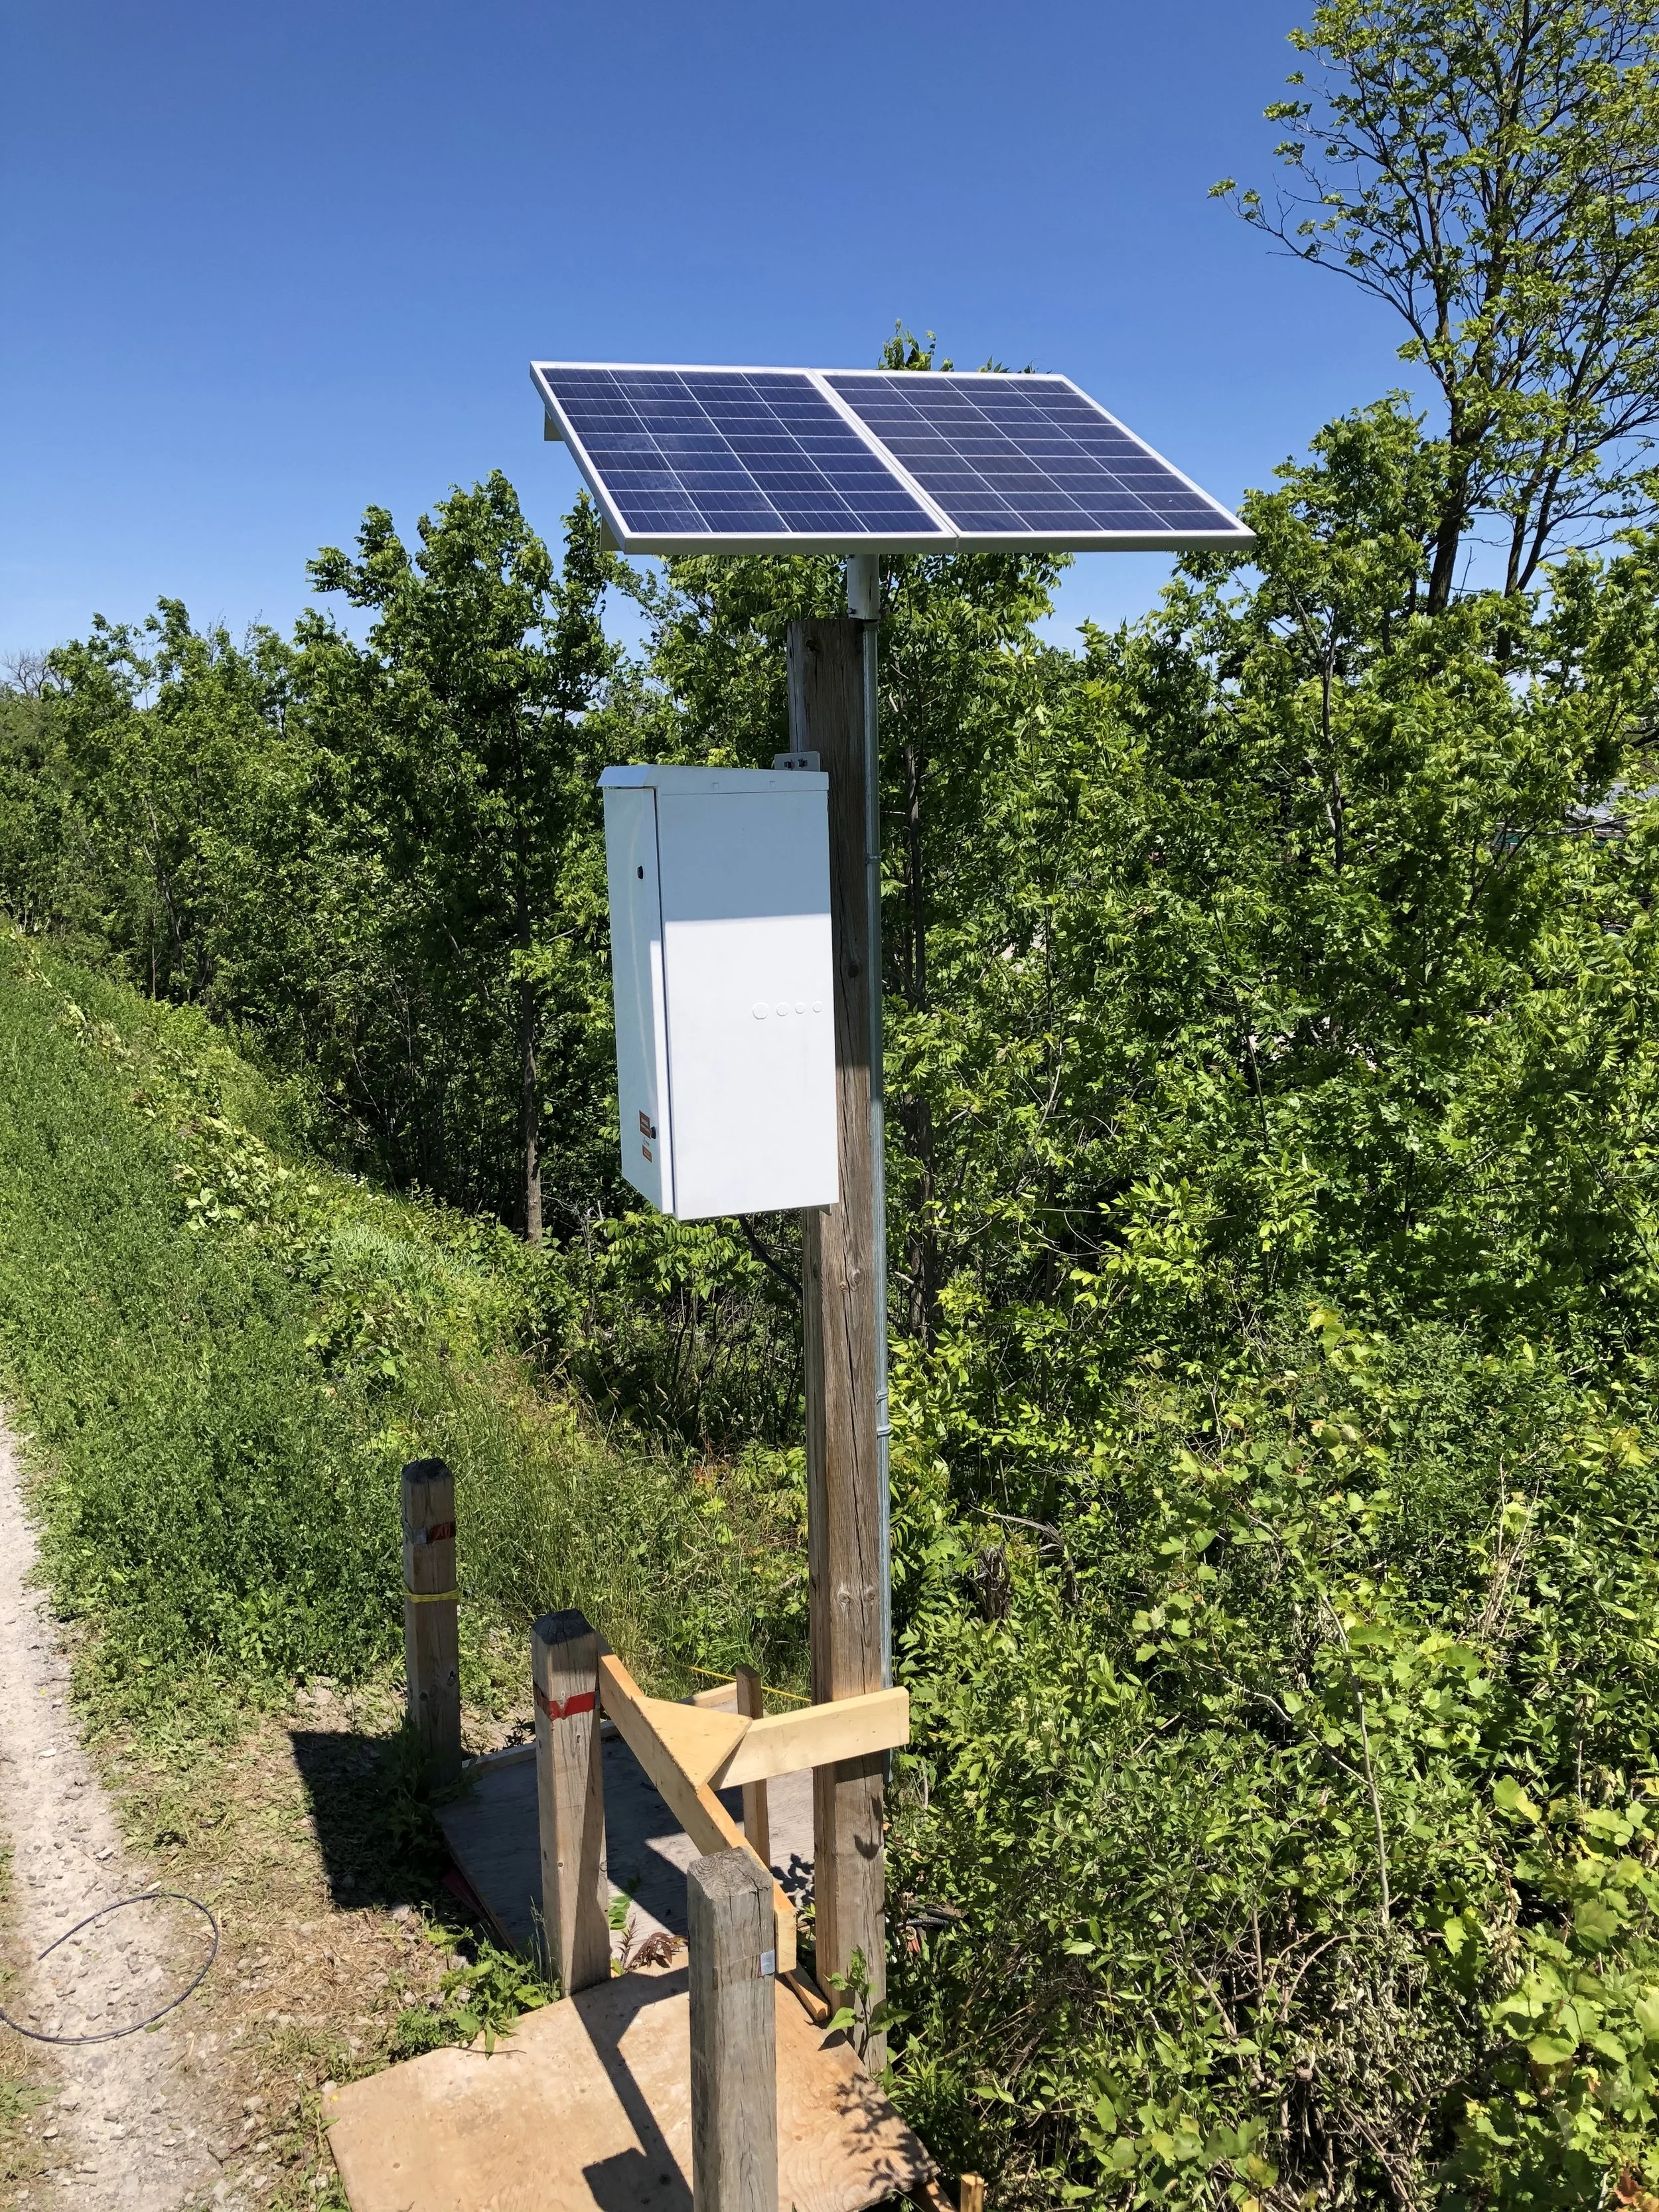 Image 3 of 3
This kit has been designed for 12V loads without 120V AC. The added second panel will provide faster charge times for your battery. If you are running the battery down to 50% routinely then the second panel will help you charge it back up the following day and will give you that extra charging potential on cloudy days.
This was designed for;
All your 12V appliances
Cell phones
12V LED lights/lanterns/string lighting
12V fans
Classic car batteries
Boat or RV house batteries
Remote monitoring stations
This system does not have an inverter. It is meant to charge your 12V batteries and appliances. The kit comes with permanent mounting.
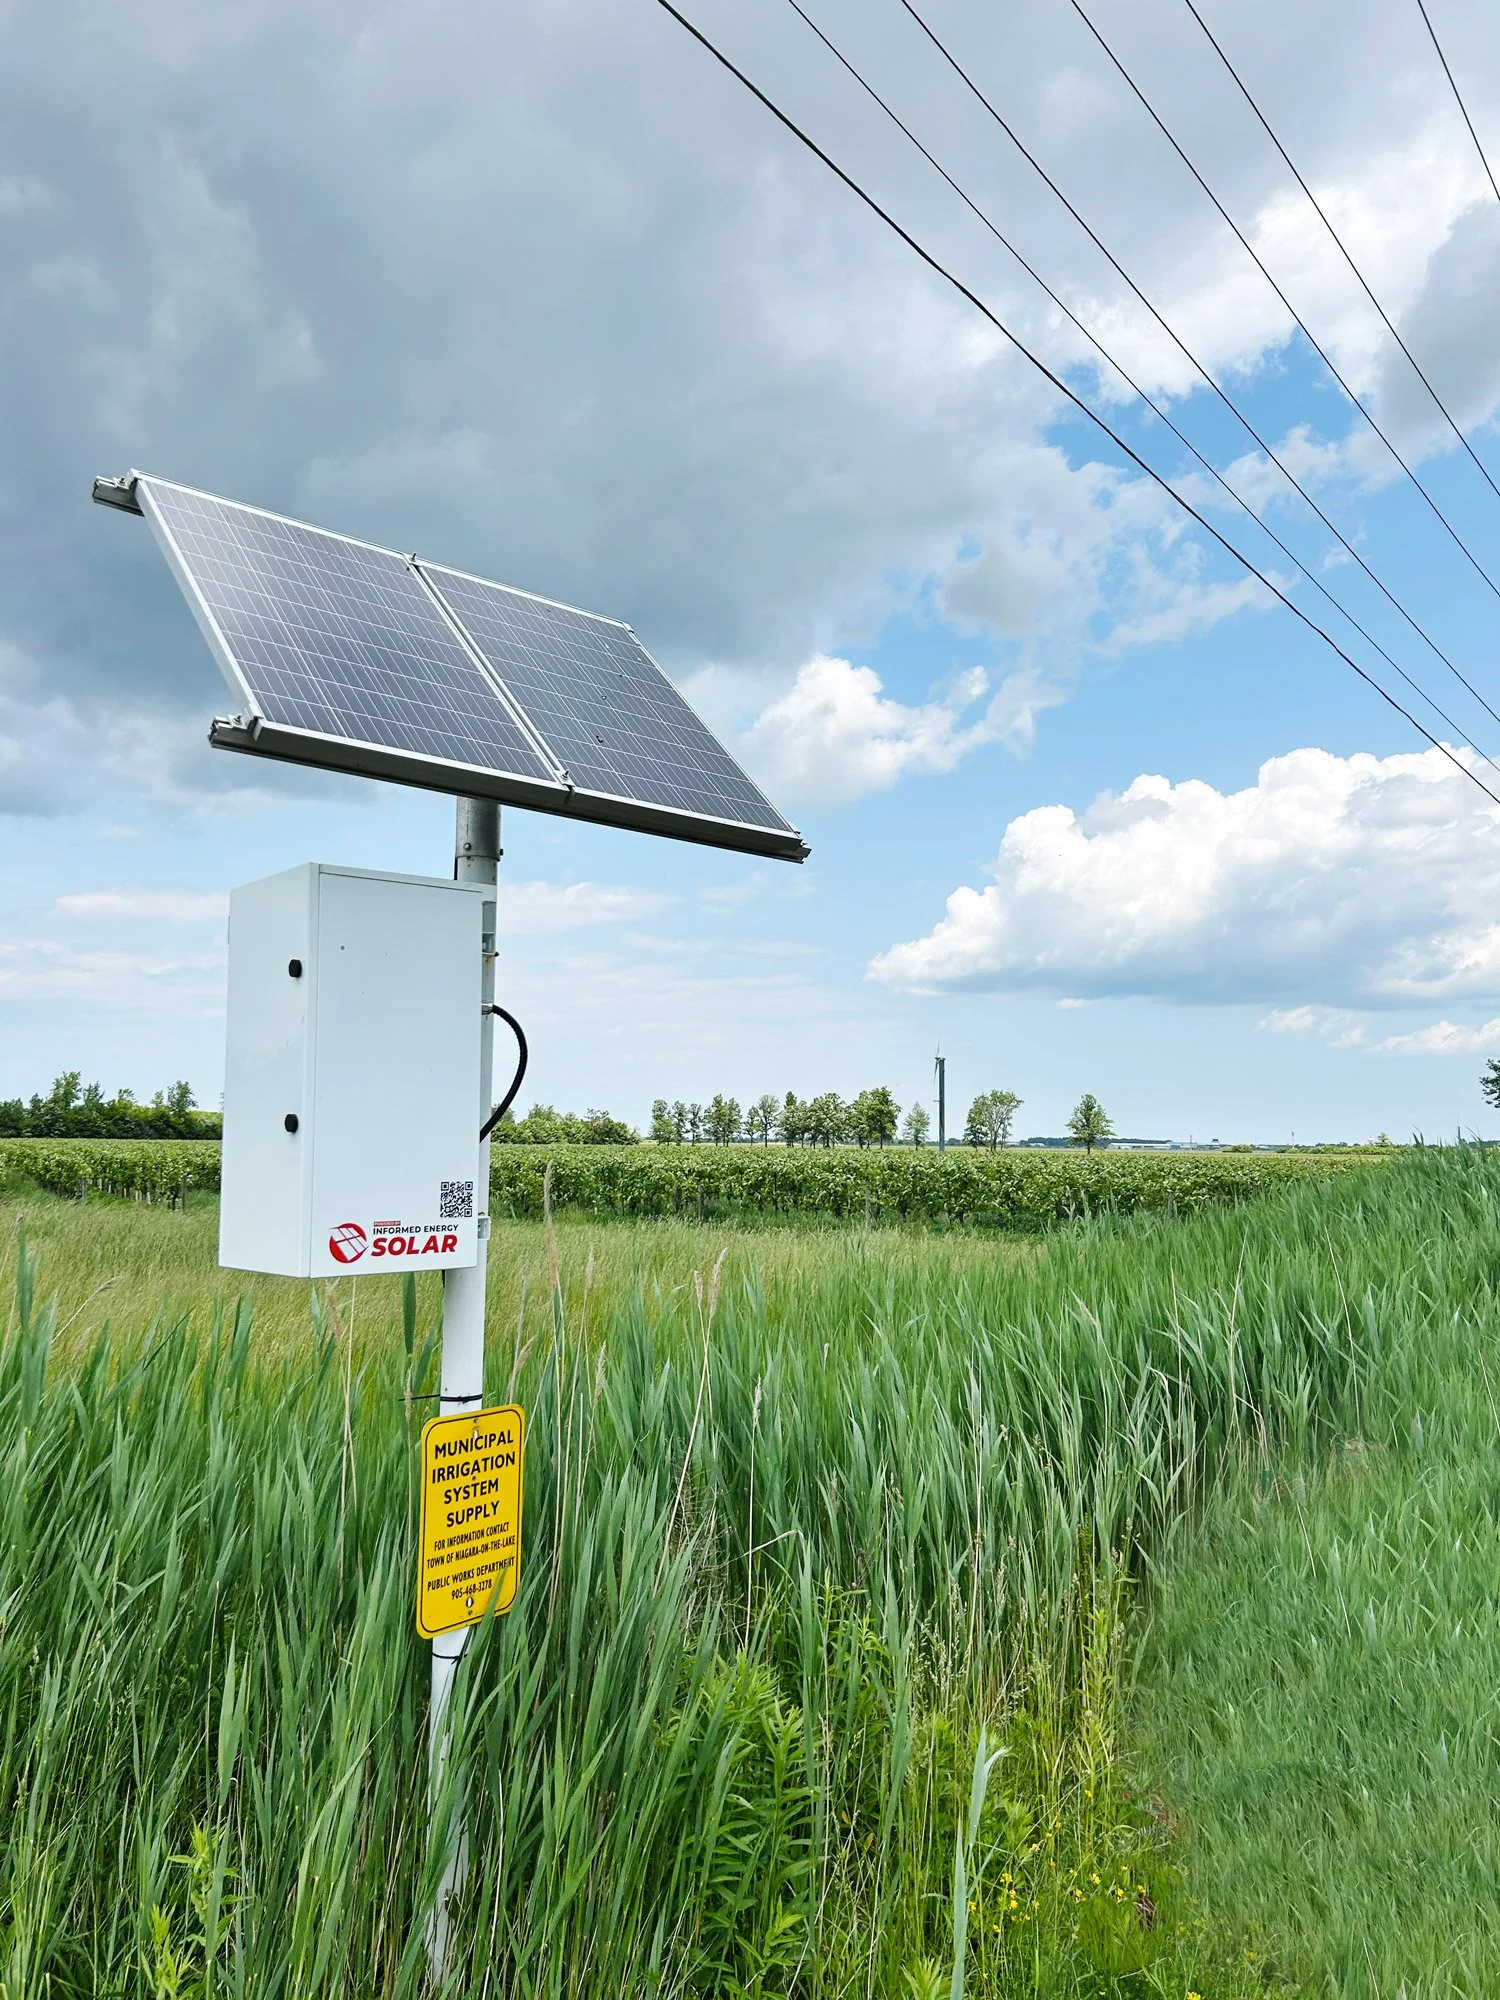
This kit comes with roof mounting, not pole mounting like shown in the images. We can add that as an option if required.
Sometimes campers are in shaded areas; by adding longer cables you can place the solar panel farther away from your site to capture more sunlight.
Includes:
2* 160W solar panel
2 * 20ft RPVU 90 #10 wire, red and black with MC4 Crimped ends.
Midnight breaker box
1 * 15A breaker
1* 30A breaker
Victron 100/30 MPPT charge controller
2 * 10ft RPVU 90 #10 wire, red and black with no ends
1 * stark 125A 12V battery
Mounting/racking
Install the solar panel racking. Mount the panel to the racking. Connect the panels in series. The positive wire from one panel to the negative wire of the second solar panel.
Mount the breaker box, and the charge controller near the battery.
Connect the red and black wires to the solar panels and run the red wires through the breaker box. The black negative wires from the solar panel and the battery can run directly to the charge controller.
Once all connections are made to the charge controller, connect to the battery and the solar panel.
Turn on the battery breaker first, then the solar breaker.
Warning* This equipment contains live electricity! Extreme caution should be used when handling the equipment and making connections! All work should be done by a qualified technician or licensed electrician. IES does not claim or warrant that these procedures are safe and or considered code compliant.
This kit has been designed for 12V loads without 120V AC. The added second panel will provide faster charge times for your battery. If you are running the battery down to 50% routinely then the second panel will help you charge it back up the following day and will give you that extra charging potential on cloudy days.
This was designed for;
All your 12V appliances
Cell phones
12V LED lights/lanterns/string lighting
12V fans
Classic car batteries
Boat or RV house batteries
Remote monitoring stations
This system does not have an inverter. It is meant to charge your 12V batteries and appliances. The kit comes with permanent mounting.
This kit comes with roof mounting, not pole mounting like shown in the images. We can add that as an option if required.
Sometimes campers are in shaded areas; by adding longer cables you can place the solar panel farther away from your site to capture more sunlight.
Includes:
2* 160W solar panel
2 * 20ft RPVU 90 #10 wire, red and black with MC4 Crimped ends.
Midnight breaker box
1 * 15A breaker
1* 30A breaker
Victron 100/30 MPPT charge controller
2 * 10ft RPVU 90 #10 wire, red and black with no ends
1 * stark 125A 12V battery
Mounting/racking
Install the solar panel racking. Mount the panel to the racking. Connect the panels in series. The positive wire from one panel to the negative wire of the second solar panel.
Mount the breaker box, and the charge controller near the battery.
Connect the red and black wires to the solar panels and run the red wires through the breaker box. The black negative wires from the solar panel and the battery can run directly to the charge controller.
Once all connections are made to the charge controller, connect to the battery and the solar panel.
Turn on the battery breaker first, then the solar breaker.
Warning* This equipment contains live electricity! Extreme caution should be used when handling the equipment and making connections! All work should be done by a qualified technician or licensed electrician. IES does not claim or warrant that these procedures are safe and or considered code compliant.